JetFormBuilder Settings Overview
Whenever JetFormBuilder is installed and activated on a WordPress website, its settings become available for customization. In this overview, we’ll review all the available settings.
The JetFormBuilder plugin settings can be found in the WordPress Dashboard > JetFormBuilder > Settings directory.
Options
The first, Options, tab includes the following customization fields:

- Enable Dev-Mode — a toggle that, if activated, saves errors from the forms. More information can be found in the Form Records Page tutorial;
- Clear plugin data after uninstall — a toggle that, if activated, will delete the custom SQL tables, all options, and files after the JetFormBuilder plugin is uninstalled from WordPress;
- Form Records Access Capability — a field where an access capability to form records can be changed. By default, only users with the “manage_options” capability can access the form records. More information about capabilities can be found in the Roles and Capabilities article;
- Disable “Next” button — a toggle that, if activated, disables the “Next” button in a multi-step form till all the required fields are completed;
- Scroll to the top on page change — a toggle that, if activated, scrolls up to the top of the page when switching between form pages;
- Automatic focus — a toggle that, if activated, indicates the invalid field and prevents users from proceeding to the next page/submitting the form unless the field is completed correctly.
Payments Gateways
The Payments Gateways tab includes one toggle by default:
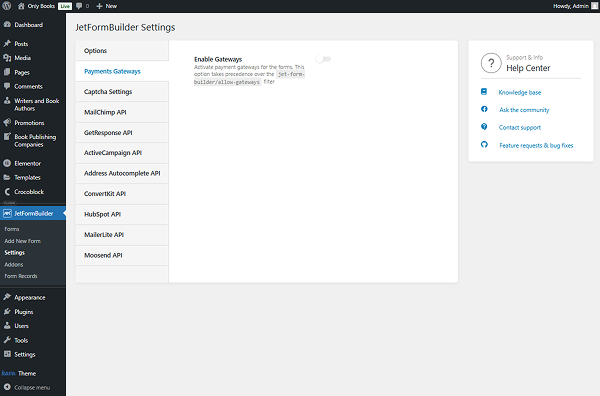
- Enable Gateways — a toggle that, when activated, enables the payment gateways in forms.
When the Enable Gateways toggle is activated, the following settings become available:
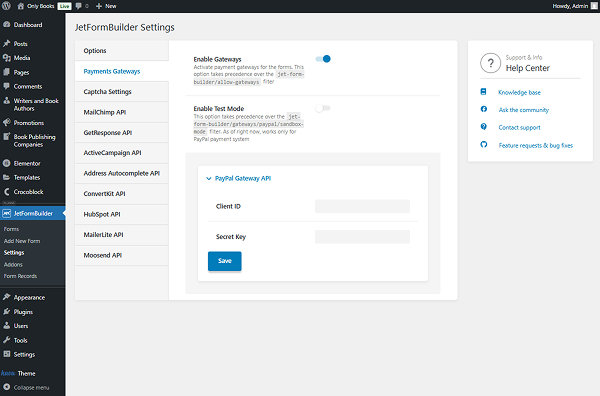
- Enable Test Mode — a toggle that, when activated, enables test mode for forms with PayPal payments.
In the PayPal Gateway API section, one can add:
- Client ID — a PayPal client ID;
- Secret Key — a PayPal secret key.
More information about the client ID and secret key can be found in the PayPal REST APIs tutorial.
The following Stripe Gateway API section appears only if the Stripe Payments add-on is installed and activated.
In this section, the following fields are presented:
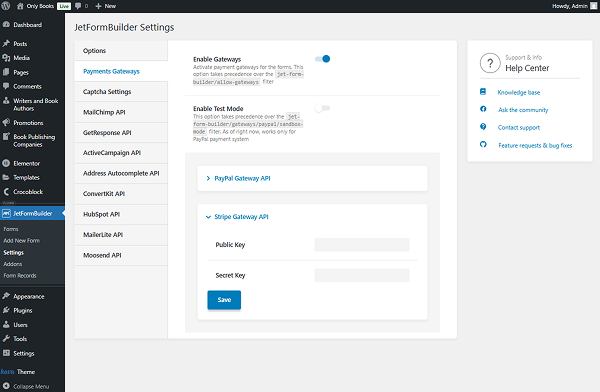
- Public Key — a Stripe public key;
- Secret Key — a Stripe secret key.
More information about the public and secret keys can be found in the Stripe Payment Form with JetFormBuilder PRO Addon tutorial.
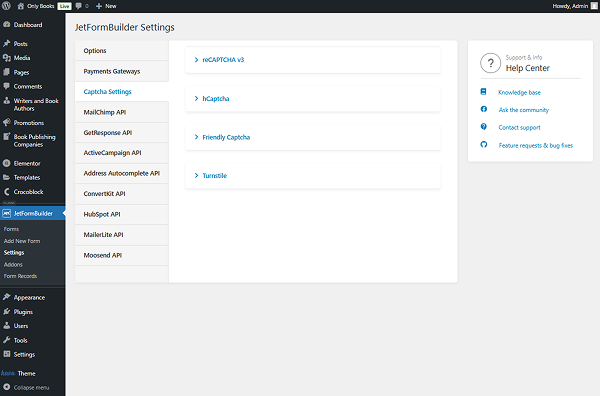
Captcha Settings
The following, Captcha Settings, tab includes different CAPTCHA services tabs that can be activated for forms.
More detailed information about the available fields can be found in the Captcha Settings tutorial.
MailChimp API
The next MailChimp API tab includes one field:
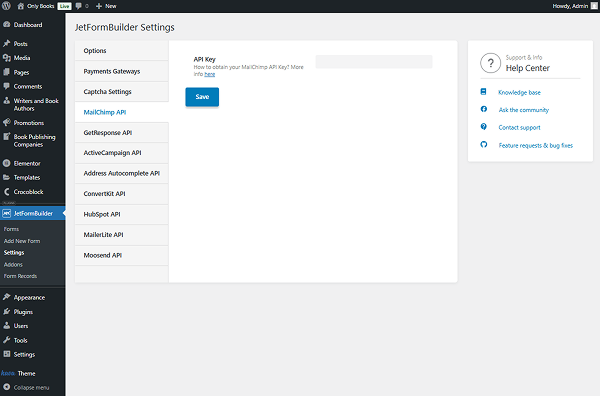
- API Key — a field for the MailChimp API key. More information can be found in the MailChimp tutorial.
GetResponse API
The following GetResponse API tab includes the following field:

- API Key — a field for the GetResponse API key. More information can be found in the GetResponse tutorial.
ActiveCampaign API
The ActiveCampaign API tab includes the following two fields for customization:
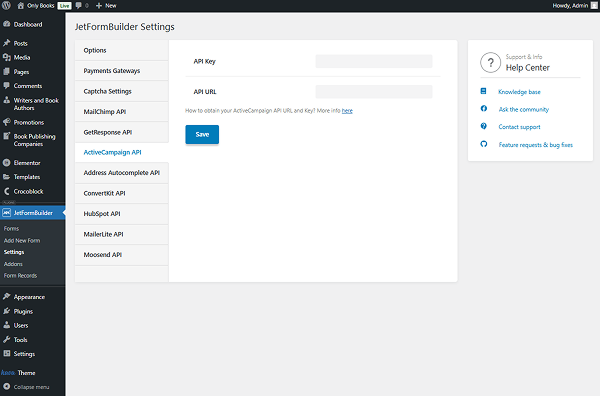
- API Key — a field for the ActiveCampaign API key;
- API URL — a field for the ActiveCampaign API URL.
More information about the customization can be found in the ActiveCampaign tutorial.
Address Autocomplete API
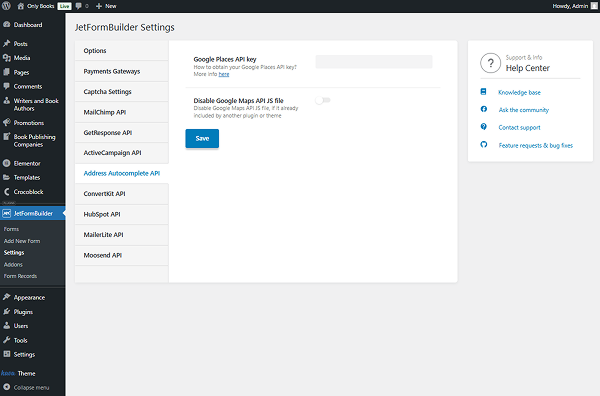
- Google Places API key — a field for the Google Places API key;
- Disable Google Maps API JS file — a toggle that allows disabling the Google Maps API JS file if it is already included by another plugin/theme.
ConvertKit API

- API key — a field for the ConvertKit API key.
HubSpot API
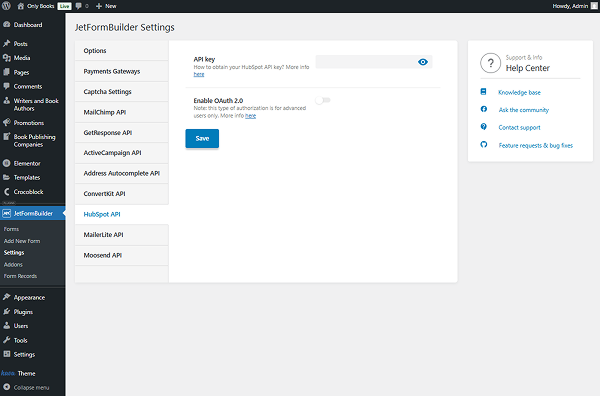
- API key — a field for the HubSpot API key. Note that this field is legacy and is intended for users who have previously set up an API key. For new integrations, instead, it is recommended to use the following Enable OAuth 2.0 feature;
- Enable OAuth 2.0 — a toggle that activates OAuth 2.0 authorization.
MailerLite API
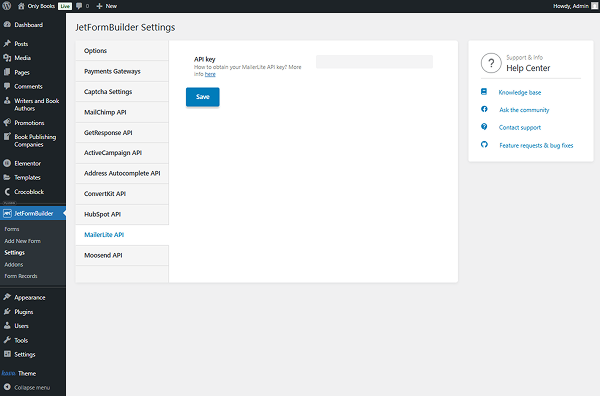
- API key — a field for the MailerLite API key.
Moosend API
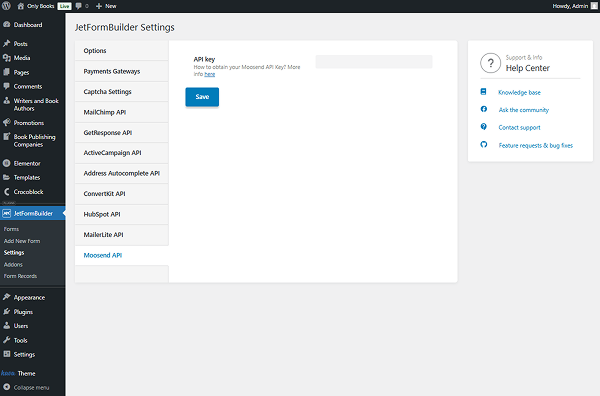
- API key — a field for the Moosend API key.
That’s all about the JetFormBuilder settings available for WordPress websites.