Form Records Page
Once you set the Store Form Record action and submit a custom form, you can proceed to WordPress Dashboard > JetFormBuilder > Form Records.
On this page, you will have access to all form submissions carried out through your website.
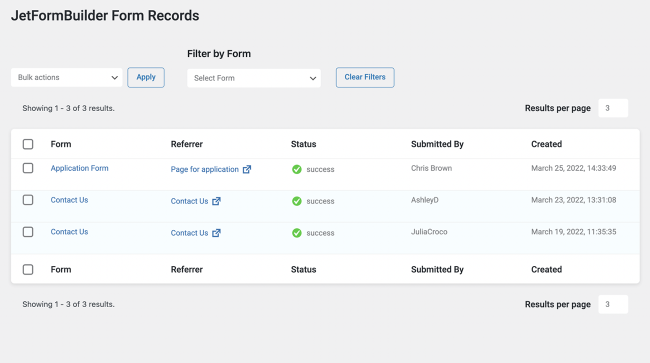
On top of the form record table, there is a drop-down field embracing three actions, which can be applied to one or more submitted forms:
- Mark as Viewed;
- Mark as not Viewed;
- Delete.

Moreover, you will be able to filter the forms by type.

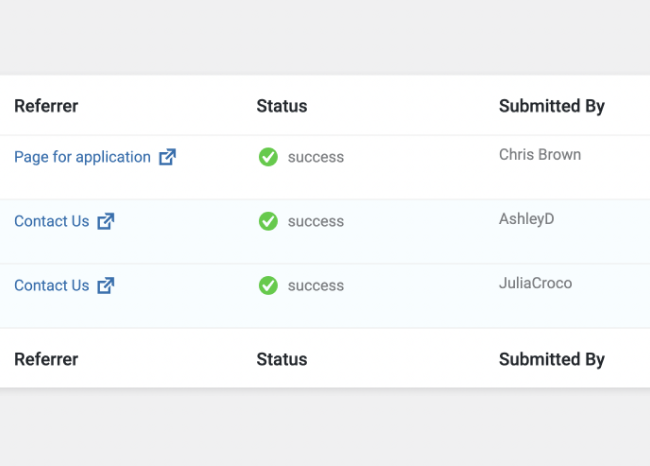
The JetFormBuilder Form Records page has five columns. The first one depicts the name of the form. The Referrer redirects to the page with the form.
The following one shows the status, e.g., ‘success.’ Finally, the last two columns show who submitted the form and when.
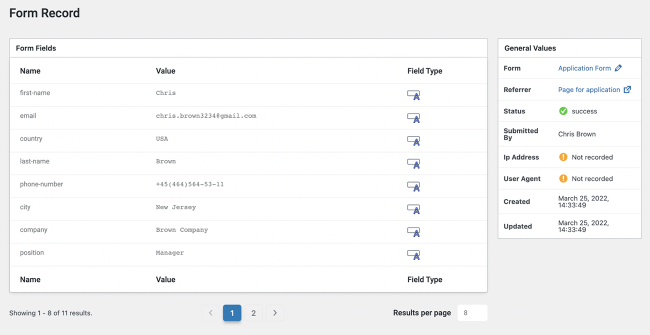
When you open a submission, there will be a Form Record page displaying Form Fields with the values submitted by the user, as well as the field types.
The General Values section shows the form name, status, IP address, the User Agent data, date and time of form creation, status, etc.
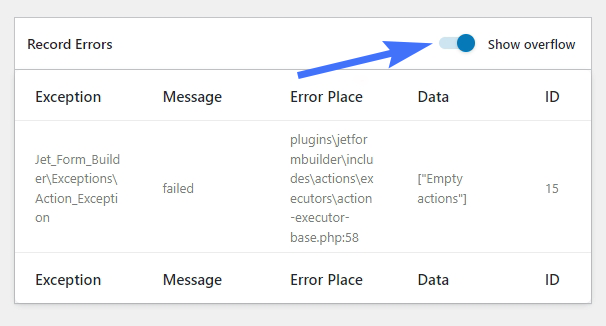
Error data will be displayed only if Dev Mode* is turned on.
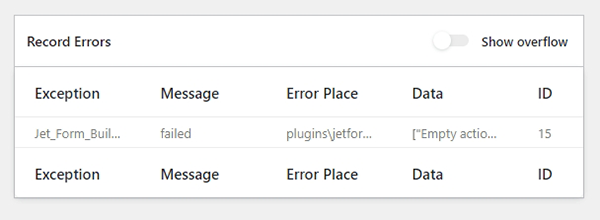
The Show overflow option unfolds Record Errors data.
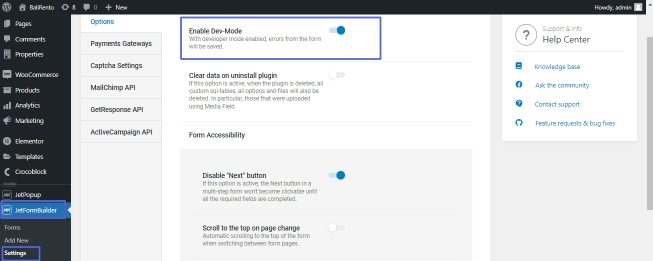
To enable the Dev Mode, proceed to the JetFormBuilder > Settings > Options and turn the Enable Dev-Mode toggle on.
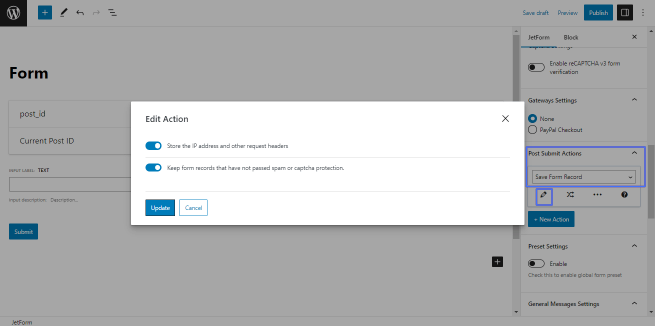
This mode saves errors from the form, for example, error records when the form submission fails. To use this mode functionality, select the Save Form Record option from the Post Submit Actions tab of the JetForm settings.
The popup window shows two toggles to Store the IP address and other request headers (as applications, operating systems, or versions of the requesting agent) and Keep form records that have not passed spam or captcha protection.
To see all error records, navigate to the JetFormBuilder > Form Records tab and unroll the needed record.